Episode summary and screen captures courtesy of Robert Labandeira.
Plot Summary: After escaping the Horde, the alliance is now in disarray after Entrapta’s death. Mermista puts forth the idea that her death is a reason why their parents decided to dissolve the Princess Alliance, and concludes they should do the same. Deciding on dissolving the rebellion, the separate kingdoms close themselves off from one another.
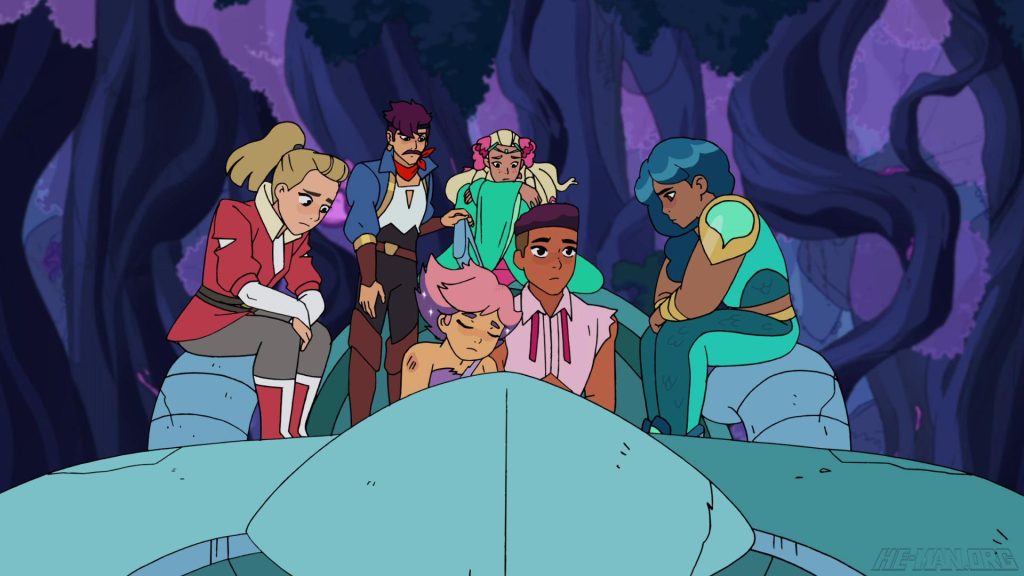
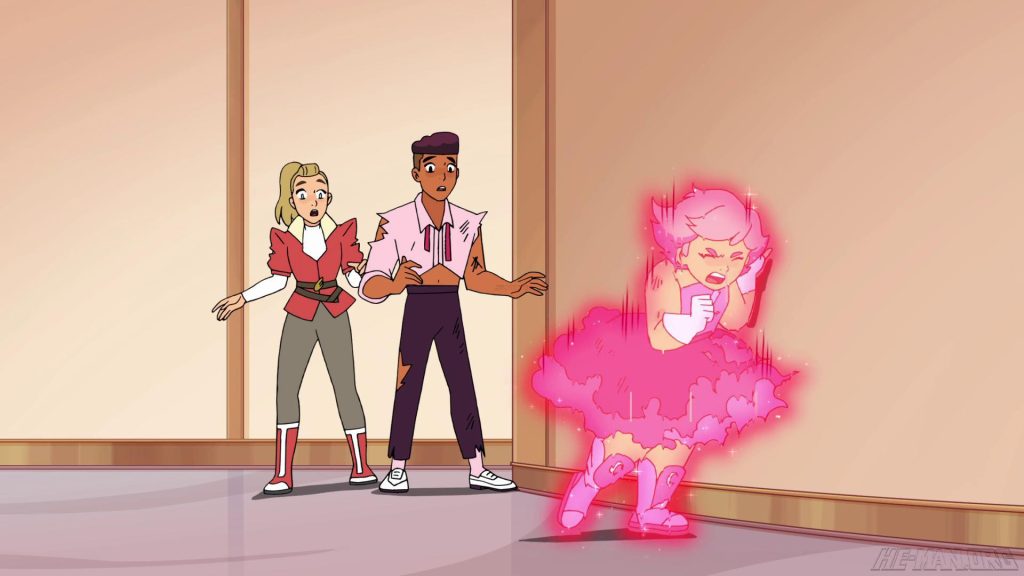
Adora and Bow bring Glimmer home to Angella’s immense relief. Glimmer soon retreats away from her mother’s sight as she starts to “glitch”, suffering from periodic bursts of immense dark magic-induced pain brought about by Shadow Weaver’s torture. Recharging her powers from Bright Moon’s runestone fails in curing her glitching.
In the Fright Zone, Hordak reprimands Shadow Weaver, scolding her for refusing to tell her that Adora was She-Ra all this time, much to Catra’s delight. Soon after they discover Entrapta, alive and well, who had escaped through the Fright Zone’s air ducts all this time.
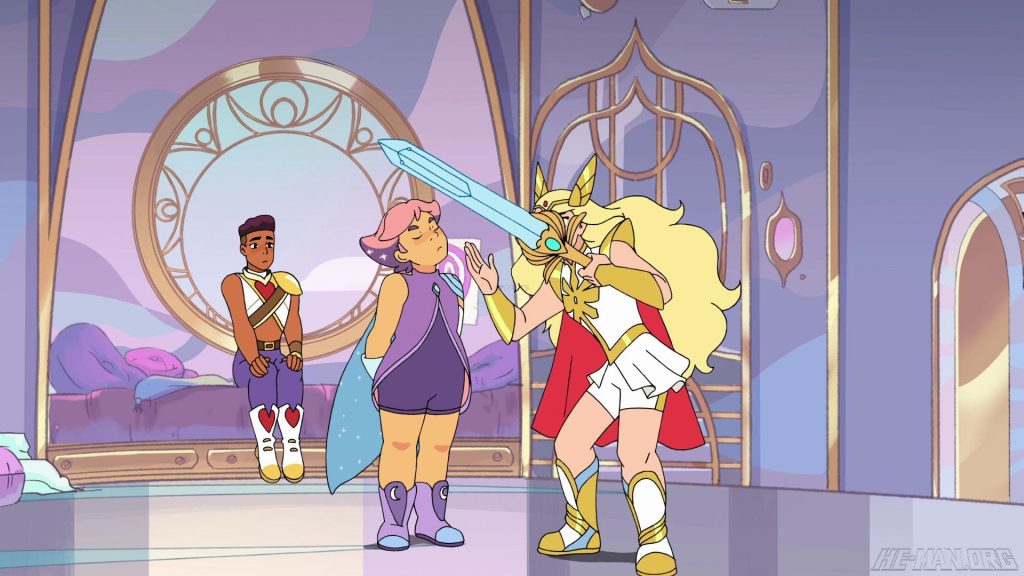
Glimmer continues to glitch and comes to the conclusion She-Ra’s sword, containing magical powers, is capable of healing her ailment. She-Ra then attempts to heal her friend.
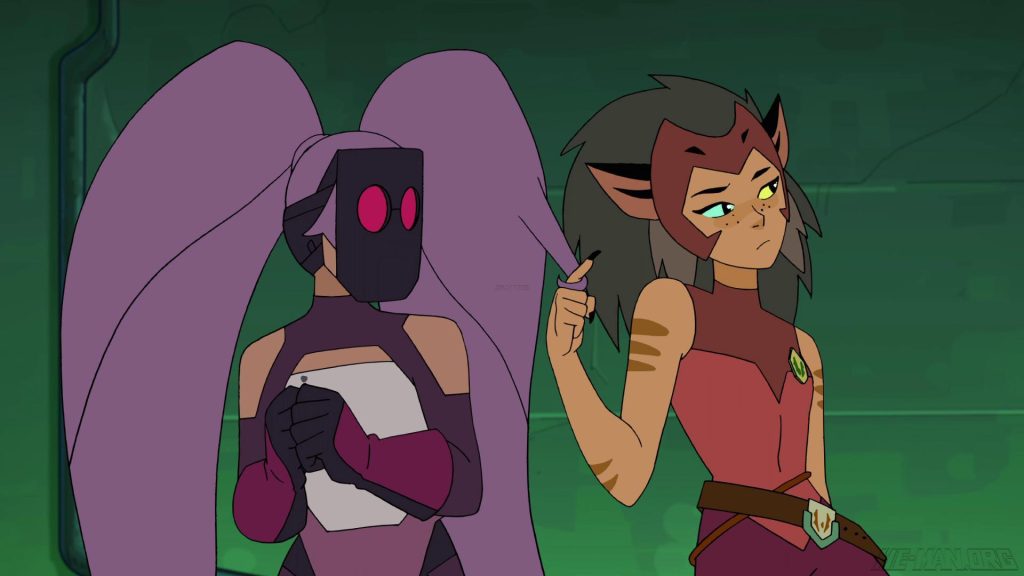
Catra and Scorpia take Entrapta prisoner, but despite Catra’s attempted intimidation, Entrapta simply takes joyous fascination in the Horde’s technology. Catra then manipulates Entrapta in siding with the Horde, arguing the fact her friends supposedly abandoned her. Entrapta later reveals she wants to find a big piece of First Ones Tech in order to continue her experiments, which she has a reading of on her tracking tablet. Catra then takes the tablet and gets ready to set out to find the technology.
She-Ra is unable to heal Glimmer’s glitching even with all her concentration. She-Ra decides she needs to set out and find a person or place that can help her realize her full power. The situation intensifies when Angella insists on having Glimmer have dinner with her, which will reveal to her mother her ailment. She-Ra sets off into the Whispering Woods.
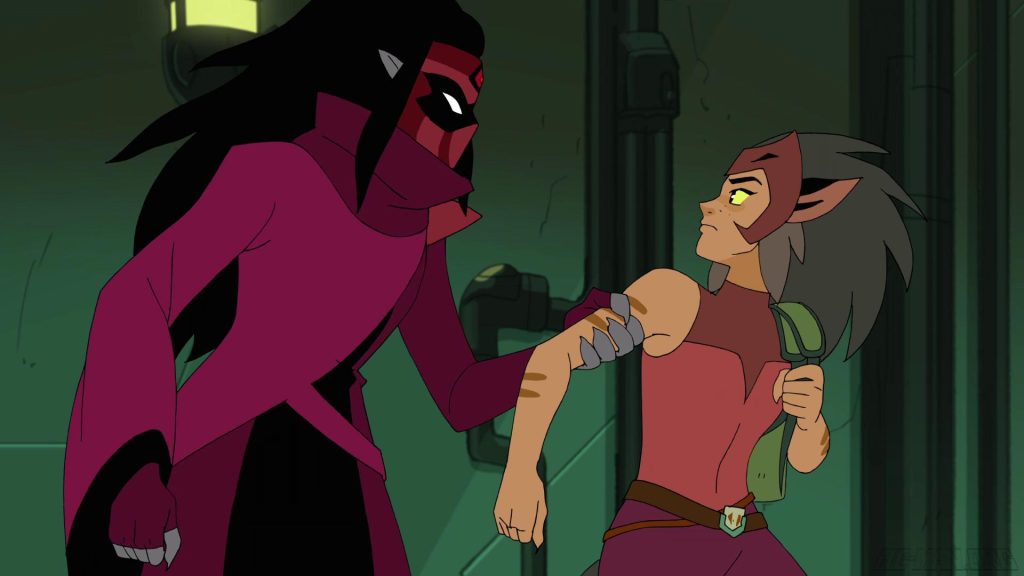
As Catra departs the Fright Zone, Shadow Weaver approaches her. Cartra offers her sympathies in regard to Hordak’s scolding, but Shadow Weaver in turn rejects her affection.
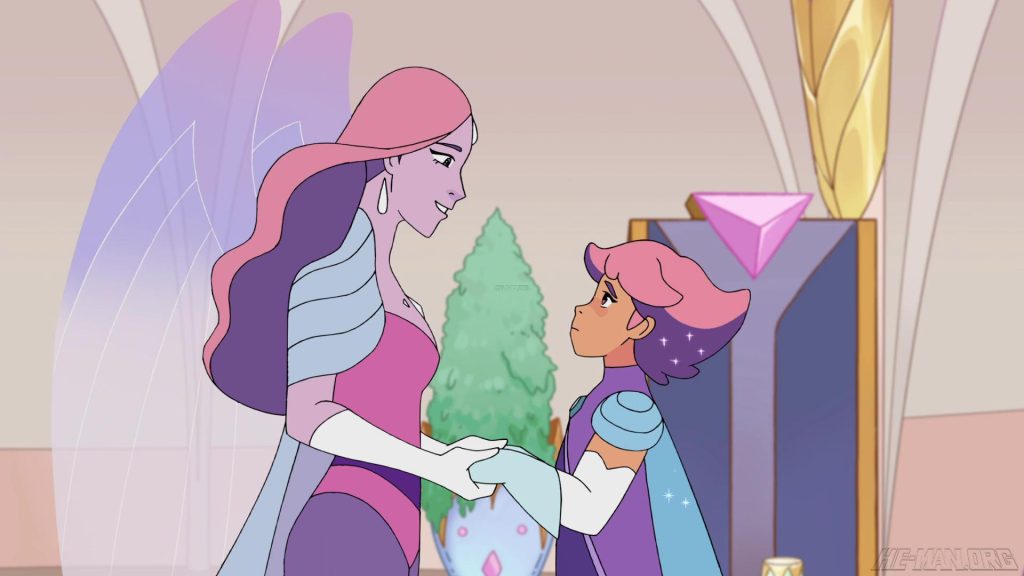
Bow and Glimmer reconcile and decide they should not blame themselves for the events leading up to their current predicament. Glimmer then joins her mother for dinner, and glitches in front of her. Glimmer then breaks down, reprimanding herself for her current failures and apologizing for disappointing her mother. In response, Angella finally tells Glimmer she ordered the battle that got Micah killed, so she should not be blaming herself for her failures in the new rebellion. Angella and Glimmer embrace, as the queen promises her daughter she will lead the alliance into victory.
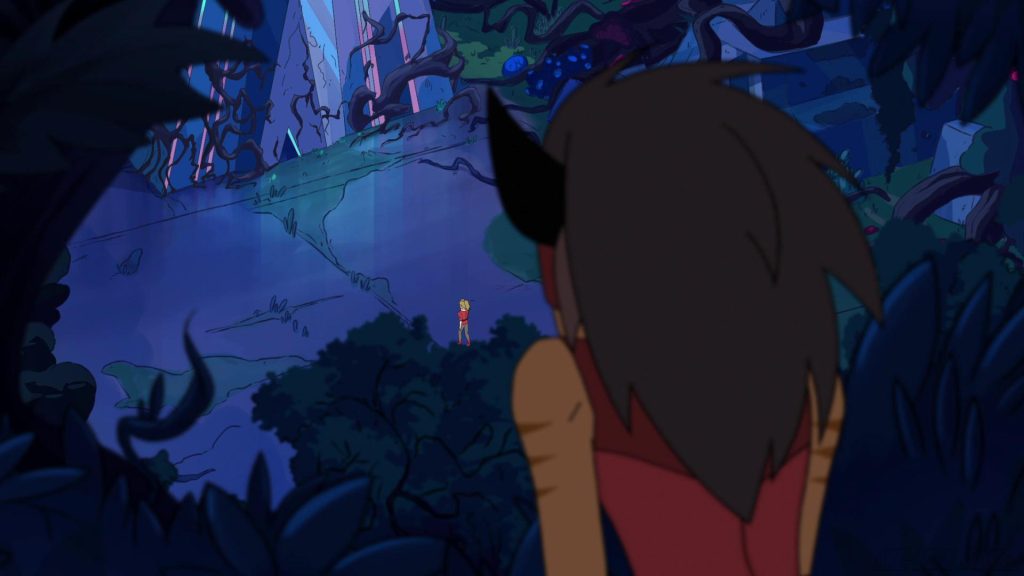
As Adora journeys through the Whispering Woods, she comes across the Crystal Castle, which now shines bright with a light at its top. As Adora journeys into the temple, Catra crosses paths with her former friend, and decides to follow her.
